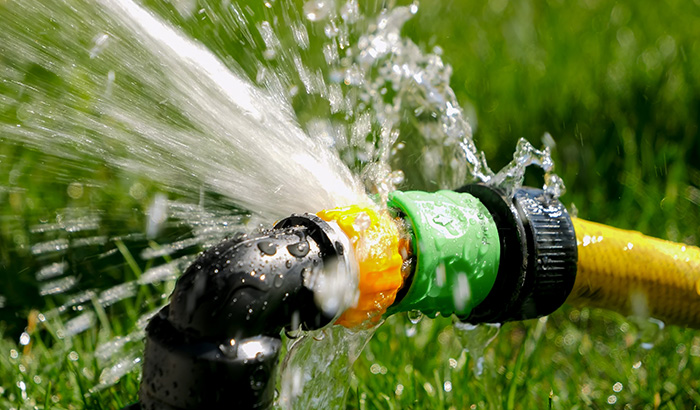
Dealing with burst pipes is stressful, but with DIY plumbing repair for burst pipes, you can take control, save money, and avoid costly damage.
Burst pipes are a common household problem. They can cause serious water damage if not addressed quickly. Many people feel overwhelmed when they see water gushing from a pipe. But with the right tools and knowledge, you can handle this repair yourself.
This blog will guide you through DIY plumbing repair for burst pipes. It’s easier than you think and can help you avoid costly repairs.
Let’s explore how you can tackle this common issue head-on and protect your home.
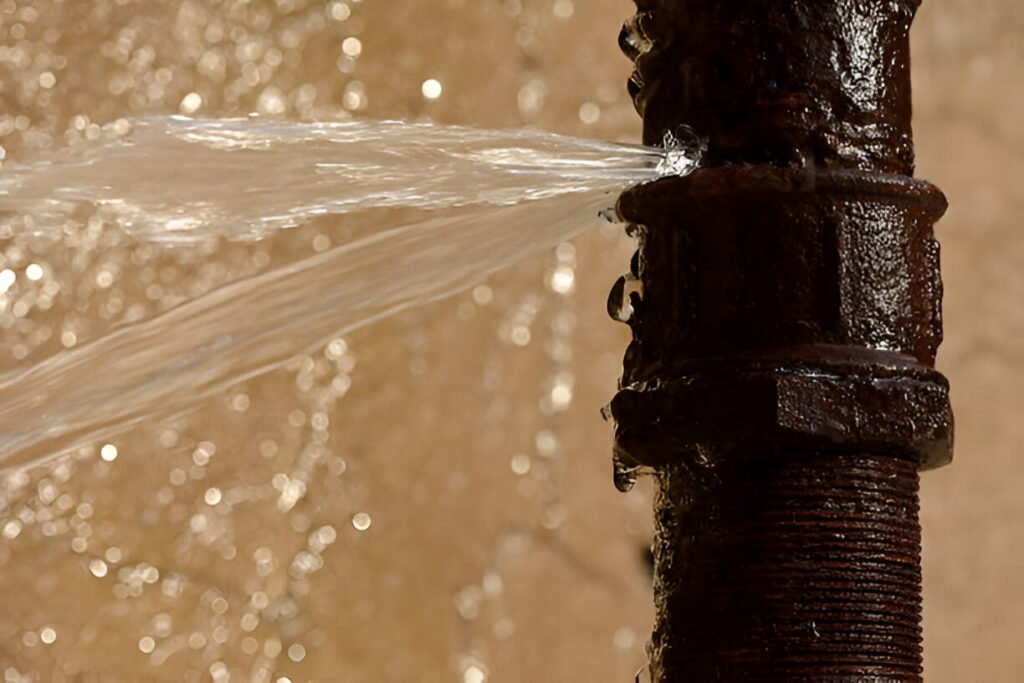
Identifying Burst Pipes
Dealing with burst pipes can be a homeowner’s nightmare, but early action can save you from costly repairs. In this guide on DIY plumbing repair for burst pipes, we’ll help you recognize the signs and understand what to look for, even if you’re not a plumbing expert.
Signs Of Burst Pipes
So, how do you know if you have a burst pipe? Here are some tell-tale signs:
- Unusual Puddles: If you spot water accumulating in places where it shouldn’t be, like under sinks or on the floor, it might be a sign of a burst pipe.
- Water Pressure Drop: A sudden loss of water pressure can indicate a problem in your plumbing system.
- Strange Noises: Hearing gurgling, hissing, or banging sounds when using water could mean there’s a burst pipe.
- Water Discoloration: If your water turns brown or rusty, it might be due to a burst pipe bringing in dirt and debris.
- Higher Water Bills: An unexplained increase in your water bill can be a clue that there’s a leak or burst pipe.
Common Causes
Understanding the reasons behind burst pipes can help you prevent them. Here are some common causes:
- Freezing Temperatures: When water freezes, it expands and can cause pipes to burst. This is especially common in colder climates.
- Old Pipes: Over time, pipes can weaken and become more susceptible to bursting. Regular maintenance can help avoid this.
- High Water Pressure: Excessive water pressure can strain your pipes, leading to bursts. Installing a pressure regulator can help manage this.
- Clogs: Severe clogs can increase pressure inside pipes, causing them to burst. Regular cleaning and maintenance can prevent clogs.
- Corrosion: Pipes made of materials like steel can corrode over time, leading to weak spots and eventual bursts. Replacing old pipes with more durable materials can be a good long-term solution.
Remember, a little knowledge goes a long way when it comes to DIY plumbing repair for burst pipes. By spotting the signs early, you can prevent major issues. Got any funny DIY plumbing repair stories? Share them in the comments!
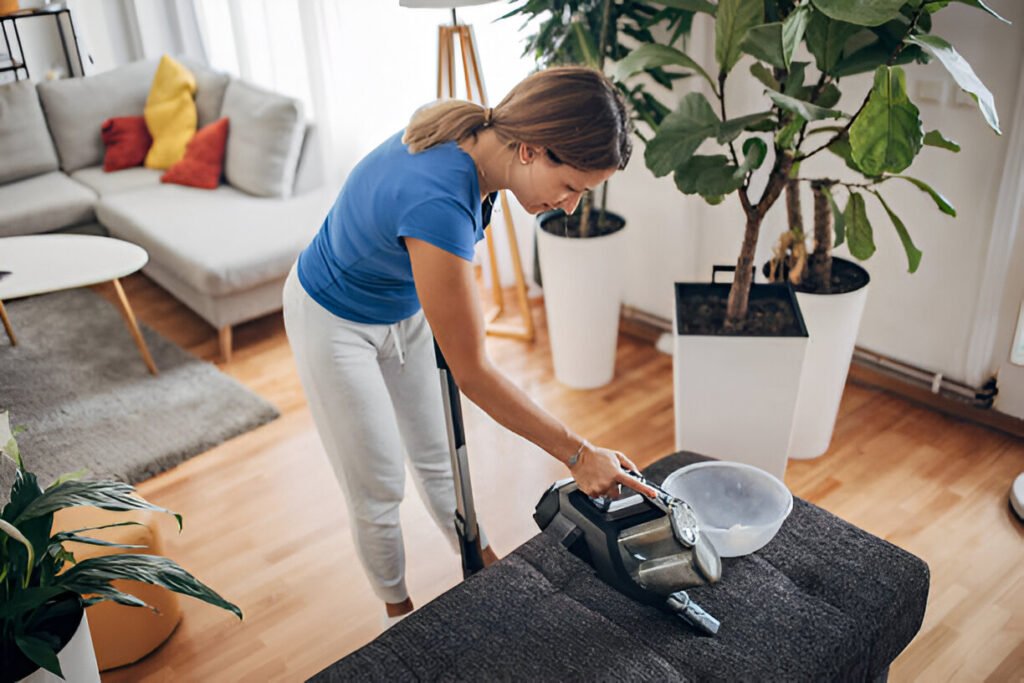
Credit: www.salisburyut.com
Safety Precautions
Before starting any DIY plumbing repair for burst pipes, safety should be your top priority. Burst pipes can cause significant damage, and attempting repairs without the right precautions can be risky. Always follow essential safety measures to ensure a secure and effective repair process.
Shutting Off Water Supply
The first step in any plumbing repair is shutting off the water supply. Locate your main water valve. It is usually near the water meter or where the main line enters your home. Turn the valve clockwise to shut off the water. This prevents further damage and makes the repair easier.
Protective Gear
Wearing protective gear is crucial. Gloves protect your hands from sharp edges and debris. Safety goggles shield your eyes from splashes and flying particles. Sturdy shoes protect your feet from heavy tools or materials. Always wear appropriate clothing, covering as much skin as possible.
Using the right tools is also important. Make sure you have a pipe wrench, a bucket, and towels ready. These tools will help you manage leaks and clean up water spills quickly.
Gathering Tools
Before you start fixing a burst pipe, gather the right tools. Proper tools make repairs easier and more efficient. This guide will help you identify essential tools and optional equipment for DIY plumbing repair.
Essential Tools
Certain tools are necessary for every plumbing repair. Here is a list of essential tools:
- Pipe cutter: Cuts pipes cleanly and accurately.
- Adjustable wrench: Useful for tightening and loosening nuts and bolts.
- Plumber’s tape: Seals threaded joints to prevent leaks.
- Bucket: Catches water and avoids a mess.
- Pliers: Grips and turns small objects.
- Hacksaw: Cuts through metal or plastic pipes.
- Flashlight: Illuminates dark spaces under sinks or in basements.
Optional Equipment
Some tools are not necessary but can make the job easier:
- Pipe insulation: Prevents pipes from freezing again.
- Repair clamp: Temporarily fixes a leak until permanent repair.
- Heat gun: Thaws frozen pipes safely.
- Pipe threader: Creates threads on pipe ends.
- Safety gloves: Protects your hands from sharp edges and debris.
- Drain snake: Clears blockages in pipes.
Gather these tools before starting your plumbing repair. They will help you fix the burst pipe effectively.
Temporary Fixes
Dealing with a burst pipe can be a homeowner’s nightmare. While waiting for a professional plumber might be necessary, there are some temporary fixes you can use to control the damage. These solutions can help you manage the situation until a permanent repair is done.
Pipe Clamps
Pipe clamps are a quick and effective way to stop leaks. They consist of a metal band and a rubber gasket. The rubber gasket fits around the pipe, and the metal band clamps it tight. This creates a seal to stop the water from leaking. Pipe clamps are affordable and available at most hardware stores.
Epoxy Putty
Epoxy putty is another useful temporary fix for burst pipes. This putty can be molded by hand and applied directly to the leaking area. It hardens quickly, creating a durable seal that can withstand water pressure. Epoxy putty is easy to use and does not require any special tools.
Permanent Solutions
Dealing with burst pipes can be stressful. Temporary fixes might work for a while. Yet, permanent solutions ensure peace of mind. This section covers two effective methods. They guarantee the longevity of your plumbing system.
Pipe Replacement
Pipe replacement is a reliable solution. First, turn off the water supply. Next, drain the pipes. This prevents any water spills. Then, cut out the damaged section. Use a pipe cutter for clean cuts. Measure and cut a new pipe. Ensure it matches the length of the removed section.
Connect the new pipe with couplings. Tighten the connections securely. Finally, turn on the water supply. Check for any leaks. This method restores your plumbing’s integrity.
Using Pipe Sleeves
Pipe sleeves offer another permanent fix. They cover and protect the damaged area. Start by cleaning the pipe. Remove any rust or debris. Measure the damaged section. Cut the pipe sleeve to fit. Slide the sleeve over the pipe. Ensure it covers the entire damaged area. Secure the sleeve with clamps.
Tighten the clamps well. This ensures a snug fit. Pipe sleeves provide a durable and long-lasting solution. They prevent further damage and leaks.
Preventing Future Bursts
Dealing with a burst pipe is a nightmare—but the good news is, you can take action before it happens again. With some smart DIY plumbing repair for burst pipes, you’ll be better prepared to protect your home and your wallet. No one wants to wake up to a flooded bathroom or an expensive surprise. In this guide, we’ll cover two simple but powerful ways to prevent future pipe bursts: insulating your pipes and staying on top of regular maintenance. Let’s get started!
Insulating Pipes
Insulating your pipes is like giving them a warm blanket. It keeps them cozy and prevents them from freezing. When water freezes, it expands. This expansion can cause your pipes to burst. So, by insulating them, you can avoid this problem.
- Foam Tubes: Foam tubes are an easy and affordable option. Just cut them to size and wrap them around your pipes.
- Pipe Wraps: These work like tape and are great for odd shapes and tight spaces.
- Heat Cables: For those super cold areas, heat cables are a great option. They keep your pipes warm and toasty.
Insulating your pipes is a simple DIY project that can save you a lot of trouble down the line. Plus, it keeps your home more energy-efficient. A win-win!
Regular Maintenance
Think of regular maintenance as a health check-up for your plumbing system. Just like you wouldn’t skip your annual doctor visit, you shouldn’t neglect your pipes.
- Check for Leaks: Small leaks can turn into big problems. Regularly inspect your pipes for any signs of leakage.
- Monitor Water Pressure: High water pressure can stress your pipes. Make sure your water pressure is within the safe range (usually 40-60 psi).
- Drain Outdoor Faucets: Before winter hits, drain and disconnect hoses from outdoor faucets to prevent freezing.
Regular maintenance might seem like a hassle, but it’s a small effort compared to dealing with a burst pipe. Plus, it gives you peace of mind knowing your plumbing system is in good shape.
So, there you have it – two straightforward ways to keep those pipes from bursting again. Remember, a little prevention goes a long way. Now, grab your tools and give your pipes the love they deserve!
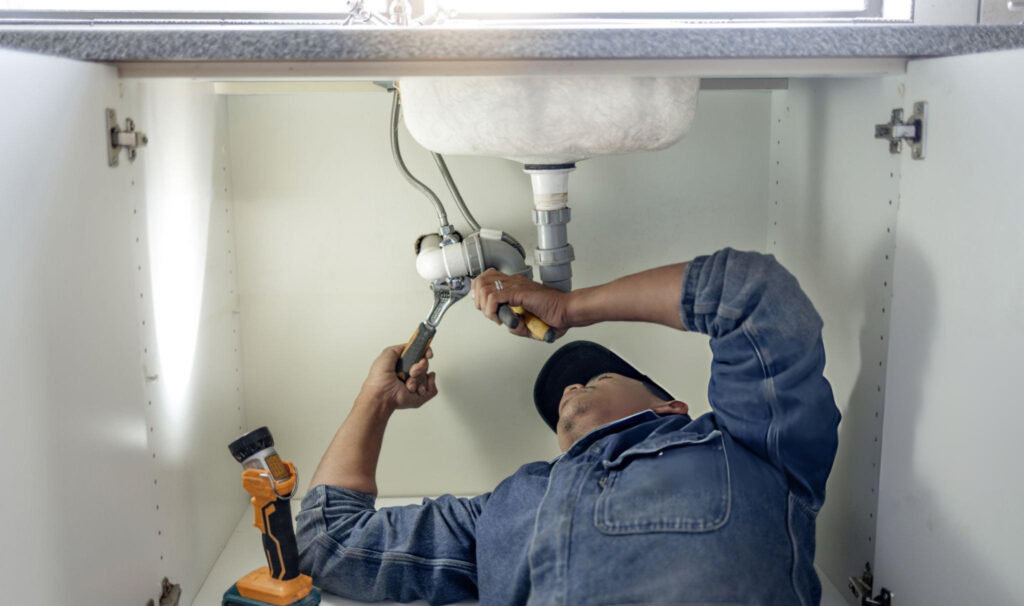
Professional Help
When faced with a burst pipe, it’s easy to feel overwhelmed. While some might want to tackle the issue head-on, there are times when professional help is the best option. Knowing when to call in the experts can save you time, money, and a lot of stress. Let’s explore when it’s necessary to call a plumber and what you can expect during their visit.
When To Call A Plumber
So, when should you pick up the phone and call a plumber? Here are some scenarios:
- Severe Leaks: If water is gushing out and you can’t control it, a professional is needed. They have the tools and expertise to handle severe leaks.
- Frozen Pipes: During winter, pipes can freeze and then burst. If you suspect a frozen pipe, call a plumber to prevent further damage.
- Complicated Repairs: If the burst pipe is in a hard-to-reach place or involves complex plumbing, it’s best to let an expert handle it.
- Recurring Issues: If this isn’t your first burst pipe, it’s wise to call a plumber to inspect your whole system and prevent future problems.
What To Expect
Calling a plumber can feel daunting, but knowing what to expect can make the process smoother:
- Initial Assessment: The plumber will first assess the situation. They will look for the burst pipe, check the severity of the leak, and determine the best course of action.
- Estimate and Explanation: They will provide you with an estimate of the costs involved and explain the steps needed to fix the issue. This transparency helps you understand what’s happening and why.
- Repair Work: Once you agree to the estimate, the plumber will get to work. They might need to cut into walls or floors to access the pipe. This can be noisy and messy, but it’s necessary for a thorough repair.
- Post-Repair Checks: After fixing the pipe, the plumber will check for any other potential issues. They will ensure everything is working correctly before they leave.
Having a professional handle your plumbing issues can be a relief. They bring knowledge, experience, and peace of mind. So, next time you face a burst pipe, remember that sometimes it’s best to call in the pros.
And here’s a little tip from my own experience: always have a good plumber’s number saved in your phone. You never know when you might need it!
Cost Considerations
When it comes to plumbing repairs, especially burst pipes, the cost can be a major concern. Whether you’re a seasoned DIYer or someone who prefers to call in the professionals, understanding the financial aspects is crucial. Let’s dive into the cost considerations and help you make an informed decision.
Diy Vs Professional Repair
Deciding between a DIY repair and hiring a professional can be tricky. Both have their pros and cons, especially when it comes to cost.
- DIY Repair: The primary advantage of DIY repairs is the potential cost savings. You avoid labor charges, which can be quite high. However, it’s important to have the right tools and some basic plumbing knowledge. If you make a mistake, it might end up costing more in the long run.
- Professional Repair: Hiring a professional plumber ensures that the job is done correctly the first time. While this option is more expensive upfront, it can save you money by preventing future issues. Plus, you get the peace of mind that comes with a guarantee on their work.
So, which option is better? It depends on your skill level and comfort with tackling plumbing tasks. If in doubt, it might be worth investing in a professional.
Budgeting Tips
Budgeting for a plumbing repair doesn’t have to be stressful. Here are some simple tips to help you manage the costs:
- Assess the Damage: Before you start, understand the extent of the damage. A small leak might be a quick fix, but a major burst could require more extensive work.
- Get Multiple Quotes: If you’re hiring a professional, don’t settle for the first quote. Get a few estimates to compare prices and services. This ensures you’re getting the best deal.
- Set Aside a Contingency Fund: Unexpected problems can arise during repairs. Having a little extra money set aside can help cover any additional costs without breaking the bank.
- Use Quality Materials: It might be tempting to save money by using cheaper materials, but this can lead to more issues down the road. Invest in good quality parts to ensure the repair lasts.
Remember, planning ahead and being prepared can help you handle the costs of plumbing repairs more effectively.
| Expense Type | DIY | Professional |
|---|---|---|
| Tools | $30 – $100 | Included |
| Materials | $10 – $50 | $20 – $70 |
| Labor | Free (Your Time) | $100 – $300 |
| Total | $40 – $150 | $120 – $370 |
Ultimately, whether you choose to go the DIY route or hire a professional, being mindful of the costs and preparing in advance can make the process smoother and less stressful.

Frequently Asked Questions
Can You Fix A Burst Pipe On Your Own?
Yes, you can fix a burst pipe on your own. Turn off the water supply first. Use pipe clamps or repair sleeves for temporary fixes. Permanent repairs may require professional help.
Does Flex Seal Work On Water Pipes?
Yes, Flex Seal can temporarily fix water pipes. It’s a quick solution for minor leaks. For permanent repairs, consult a plumber.
How To Fix A Burst Pipe Temporarily?
Turn off the water supply immediately. Clean and dry the pipe. Use a pipe clamp or rubber patch. Apply duct tape tightly around the burst area. Call a plumber for permanent repair.
How To Fix A Cracked Water Pipe Without Replacing It?
Use epoxy putty to seal the crack. Clean the pipe, apply the putty, and let it cure. Use pipe clamps for added support.
Conclusion
Burst pipes can be a nightmare. DIY plumbing repairs save time and money. Remember to act quickly. Water damage worsens fast. Gather tools before starting. Turn off the water supply first. Fix the pipe using repair techniques. Check for leaks afterward.
Prevent future bursts with regular maintenance. Learning basic plumbing skills helps. Stay calm and focused. Your efforts will pay off. You can handle this. Happy repairing!


4 thoughts on “DIY Plumbing Repair for Burst Pipes: Quick Fixes & Tips”
Pingback: How to Fix Plumbing Pipe Corrosion Problems: Expert Solutions – Sweet Home Zone
Pingback: Plumbing Repair Tips for Low Water Pressure: Boost Your Flow Today - Sweet Home Zone
Pingback: Fixing Water Damage from Plumbing Leaks: Expert Solutions Revealed - Sweet Home Zone
Pingback: Affordable DIY Plumbing Fixes for Leaks: Quick and Easy Solutions - Sweet Home Zone