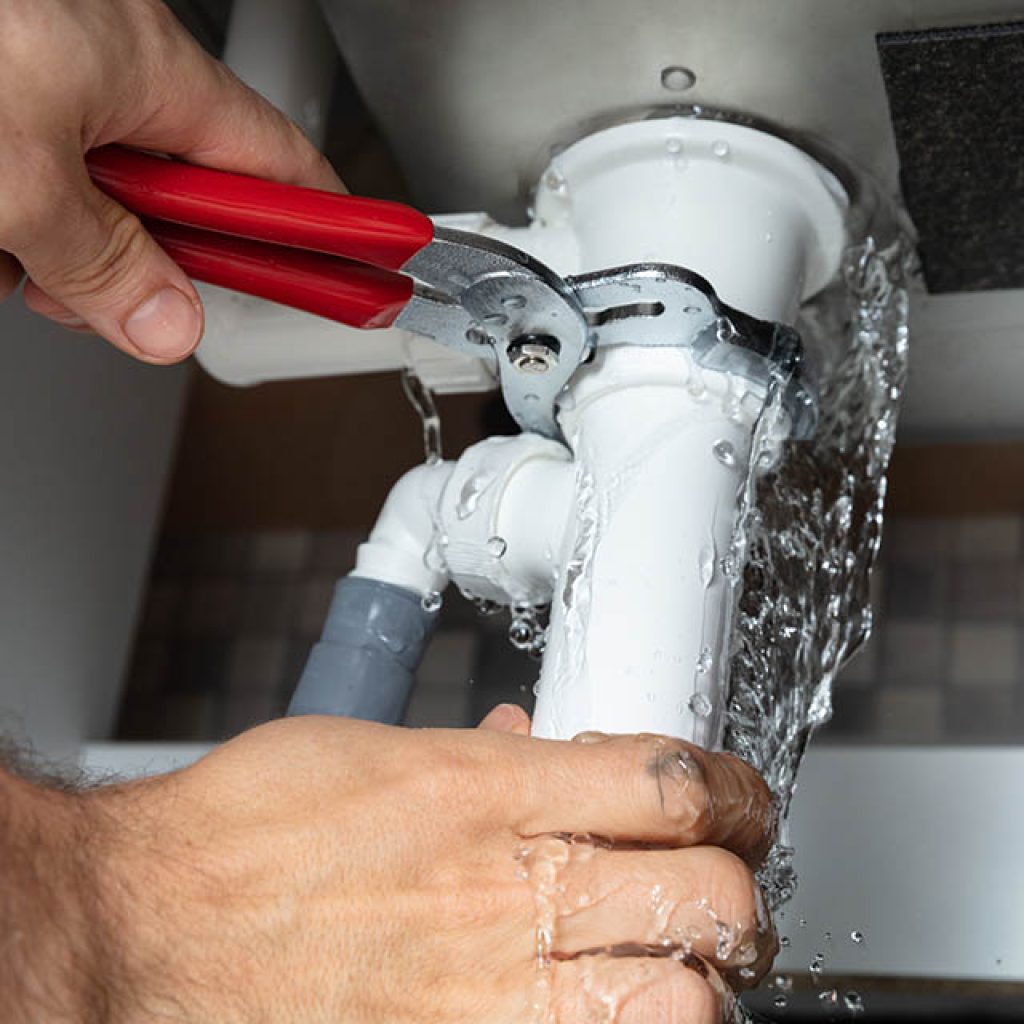
Learning how to fix a leaky faucet without a plumber can save you both money and hassle. You don’t always need professional help for this simple task.
Leaky faucets are common in homes. They waste water and increase bills. Learning to fix them yourself is useful and cost-effective. This blog will guide you through the process. It’s easier than you might think. With a few tools and some patience, you can tackle this problem.
No need for advanced skills or expensive equipment. We’ll explain step-by-step how to stop that annoying drip. Follow along and soon your faucet will be as good as new.
Let’s get started on fixing that leak today!

Credit: www.wikihow.com
Identifying The Leak
Fixing a leaky faucet might seem like a daunting task, but with a little guidance, you can save yourself a call to the plumber.
The first step is to identify where the leak is coming from. This might sound simple, but it requires a bit of investigation. Understanding the type of leak and the signs to look out for can make the entire process much smoother.
Types Of Faucet Leaks
Before you grab your toolbox, it’s essential to know the different types of faucet leaks. Each type requires a different approach to fix.
Here are the most common ones:
- Dripping Faucet: This is when water continuously drips from the spout.
- Leaking Handle: Water leaks from the handle when the faucet is turned on or off.
- Sprayer Leaks: If your faucet has a sprayer, it might leak from the base or the hose.
Signs Of A Leaky Faucet
Spotting a leaky faucet isn’t always straightforward. However, there are several tell-tale signs you can watch for:
- Dripping Sound: If you hear a constant drip, it’s a clear sign of a leak.
- Water Stains: Check under the sink for water stains or puddles.
- High Water Bill: An unusually high water bill can indicate a hidden leak.
- Mold Growth: Leaks can lead to mold growth around the sink area.
Now that you’ve identified the type and signs of your leaky faucet, you’re one step closer to fixing it. Remember, even the smallest drip can waste gallons of water over time.
So, let’s roll up our sleeves and tackle that leak!
Gathering Tools And Materials
So, you’ve got a leaky faucet and you’re ready to tackle it yourself? Great! Before you dive into the repair, it’s crucial to gather all the necessary tools and materials.
This step will save you time and frustration later. Trust me, there’s nothing worse than starting a project and realizing you’re missing a key tool.
Let’s make sure you’re fully prepared for the job ahead.
Essential Tools
First things first, you’ll need some essential tools to get the job done. Don’t worry, these are common household items and not too hard to find.
- Adjustable Wrench: This is crucial for loosening and tightening nuts and bolts.
- Screwdriver: A flat-head and a Phillips-head screwdriver will cover most bases.
- Plumber’s Tape: Also known as Teflon tape, this helps seal joints to prevent leaks.
- Allen Wrench: Some faucets require this for removing the handle.
Having these tools on hand will make the repair process smooth and efficient. If you don’t already have them, they’re a good investment for future DIY projects.
Required Materials
Now that you’ve got your tools, let’s talk about the materials you’ll need. These items are just as important as the tools themselves.
- Replacement Parts: Depending on the faucet type, you may need washers, O-rings, or cartridges. Check your faucet’s manual or take the old parts to the hardware store to find exact matches.
- Cleaning Supplies: A small brush and some vinegar can help clean out any mineral deposits while you have the faucet taken apart.
- Bowl or Bucket: Place this under the sink to catch any water that drips out when you’re working on the faucet.
It’s a good idea to lay out all your materials in one place before you start. This way, you won’t be scrambling around mid-repair looking for something you forgot.
By gathering these tools and materials, you’re setting yourself up for success. Remember, a little preparation goes a long way.
Now that you’re all set, let’s move on to the actual repair process. Ready? Let’s do this!
Turning Off Water Supply
Fixing a leaky faucet is easier if the water supply is turned off. This step is crucial. It prevents water from spilling everywhere. Let’s explore how to turn off the water supply effectively.
Locating The Shut-off Valve
Find the shut-off valve first. Usually, it is under the sink. Sometimes, it is behind the cabinet door. Look for a small knob or lever. It is often connected to pipes. If you can’t find it, check behind the toilet. Some homes have a central shut-off valve. This is usually in the basement or near the water heater. Make sure you identify the correct valve.
Ensuring Complete Shutdown
After locating the valve, turn it clockwise. This closes the valve. Check if the water stops flowing. Turn the faucet on to ensure no water comes out. If water still flows, the valve might be faulty.
You might need to turn off the main water supply. This ensures complete shutdown. Confirm the water is off before starting any repairs.

Credit: www.reddit.com
Disassembling The Faucet
Fixing a leaky faucet yourself can save you time and money. The first step in this process is disassembling the faucet. This may sound complicated, but it’s quite simple if you follow a few steps. Let’s break it down into manageable parts.
Removing Faucet Handle
Begin by turning off the water supply. You can find the valve under the sink. Once the water is off, open the faucet to release any trapped water. Next, locate the screw on the faucet handle. It might be under a decorative cap. Use a flathead screwdriver to remove the cap. Now, use a Phillips screwdriver to remove the screw. Gently pull the handle off the faucet.
Taking Out Cartridge
With the handle removed, you will see a retaining nut or clip. Use an adjustable wrench to loosen the retaining nut. If there is a clip, use needle-nose pliers to remove it. Once the nut or clip is removed, you can pull out the cartridge. Be careful not to damage the cartridge as you pull it out. Note the position of the cartridge for easy reassembly.
Inspecting And Replacing Parts
So, your faucet is leaking, and you’re ready to roll up your sleeves and get to work. Don’t worry; you don’t need a plumber for this. With a few simple steps, you can inspect and replace the necessary parts to stop that pesky drip. Let’s dive in!
Checking For Damaged Parts
First things first, you’ll need to figure out which part of the faucet is causing the problem. Here’s a quick guide to help you:
- Turn off the water supply to the faucet. This is usually located under the sink.
- Remove the faucet handle. You might need a screwdriver for this.
- Take a close look at the parts inside. Are they worn out or damaged? If yes, you’ve found the culprits.
Often, the issue is with the O-rings and washers. These small rubber parts can wear out over time. Don’t worry; they are easy to replace.
Replacing O-rings And Washers
Now that you’ve identified the damaged parts, it’s time to replace them. Here’s how:
- Purchase new O-rings and washers from your local hardware store. Make sure they match the size of the old ones.
- Remove the old O-rings and washers. You can use a small flathead screwdriver to pry them off.
- Install the new O-rings and washers. Be gentle to avoid damaging them.
- Reassemble the faucet and turn the water supply back on.
And there you have it! Your faucet should no longer be leaking. Remember, even if you’re not a plumbing expert, these small fixes can save you both time and money. Plus, you’ll feel a great sense of accomplishment every time you use your perfectly functioning faucet.
Need more help? Don’t hesitate to ask questions in the comments below. Happy fixing!
Reassembling The Faucet
Reassembling the faucet is a crucial step in fixing a leaky faucet. After identifying and fixing the leak, it’s time to put everything back together. This ensures your faucet works smoothly and looks good too. Let’s walk through the steps.
Reinstalling Cartridge
First, reinstall the cartridge into the faucet body. Align it properly to ensure a snug fit. Push it down firmly, but gently. Make sure it sits flush with the faucet body.
Next, secure the cartridge with the retaining clip or nut. Use a wrench to tighten it, but don’t overdo it. Over-tightening can damage the cartridge or faucet body. Once secure, check for any loose parts.
Reattaching Faucet Handle
Now, reattach the faucet handle. Slide the handle onto the cartridge stem. Align it so it moves freely. Secure it with the screw or set it with a small wrench.
Test the handle to ensure it turns smoothly. If it’s stiff, loosen the screw slightly. Finally, replace any decorative caps or covers. Your faucet should now be reassembled and ready for use.
Turning On Water Supply
So, you’ve managed to fix your leaky faucet without calling a plumber! Kudos to you. The final step is to turn the water supply back on. This part is crucial because you need to ensure everything is in tip-top shape. Let’s dive into the specifics and make sure everything goes smoothly.
Gradual Water Flow Restoration
When it’s time to restore the water flow, it’s best to do it gradually. Why? Because a sudden rush of water can cause a bit of chaos, especially if something isn’t quite right.
Here’s a simple step-by-step guide:
- Locate the main water valve: This is usually under the sink. If you’re unsure, check behind the cabinet doors or near the pipes.
- Turn the valve slowly: Twist the valve slowly in a clockwise direction. This allows the water to flow gradually, reducing the risk of pressure surges.
- Monitor the faucet: Watch the faucet carefully as the water begins to flow. Look for any signs of leaks or drips.
Checking For Leaks
After you’ve restored the water flow, it’s time to play detective. You’ll need to check for any leaks to ensure your repair job was successful. Here’s how you can do it:
- Inspect the faucet: Look closely at the faucet and the surrounding area. Is there any water seeping out?
- Feel the pipes: Run your fingers along the pipes under the sink. Are they dry, or do you feel any moisture?
- Listen carefully: Sometimes, you can hear a leak even if you can’t see it. Listen for any unusual dripping sounds.
If you spot any leaks, don’t panic. It might just be a minor adjustment that needs to be made. Tighten any loose parts and check again. If everything looks good, congratulations! You’ve successfully fixed your leaky faucet and restored the water supply without needing a plumber.
Remember, patience is key. Taking your time to restore the water flow gradually and checking for leaks can save you from potential headaches down the road. And who knows, you might just find yourself tackling more DIY plumbing projects in the future!
Credit: www.tiktok.com
Preventing Future Leaks
Fixing a leaky faucet is a great skill to have, but what’s even better is preventing those leaks from happening again. By taking a few simple steps, you can save yourself a lot of hassle down the road. Let’s dive into some practical tips to keep your faucet in tip-top shape.
Regular Maintenance Tips
Regular maintenance is the key to a healthy, leak-free faucet. Here are a few tips to keep in mind:
- Check for Drips: Once a week, take a quick look at your faucet. If you notice any drips, address them immediately.
- Clean Aerators: Aerators can get clogged with mineral deposits. Remove and clean them every few months.
- Inspect Seals: The seals inside your faucet can wear out over time. Inspect and replace them if needed.
A little bit of attention now can save a lot of headaches later. Think of it like taking care of a car – regular tune-ups keep it running smoothly.
Proper Faucet Usage
Believe it or not, the way you use your faucet can impact its longevity. Here are some simple rules to follow:
- Avoid Excessive Force: Don’t turn the handles too tightly. It won’t stop leaks and can damage the faucet.
- Turn Off Gently: When turning off the faucet, do it gently. Slamming it shut can cause wear and tear.
- Mind the Temperature: Avoid running extremely hot water for long periods. It can damage seals and cause leaks.
Just like you wouldn’t slam a door shut, you should treat your faucet with care. A little mindfulness goes a long way in preventing future leaks.
By following these simple tips, you can extend the life of your faucet and keep it leak-free. Regular maintenance and proper usage are your best friends in this battle. So, roll up your sleeves and give your faucet the TLC it deserves!

Frequently Asked Questions
Can You Fix A Leaky Faucet Yourself?
Yes, you can! Learning how to fix a leaky faucet without a plumber is easier than you might think. With some basic tools and a few clear instructions, you can handle it on your own. Just make sure to turn off the water supply first.
How Do I Stop My Faucet From Dripping?
To stop a faucet from dripping, turn off the water supply. Replace the worn-out washer, O-ring, or cartridge. Reassemble the faucet and test for leaks.
What Is The Most Common Cause Of A Leaky Faucet?
The most common cause of a leaky faucet is a worn-out washer or O-ring. Replacing these parts usually fixes the issue.
Do You Have To Turn The Water Off To Fix A Leaky Faucet?
Absolutely. If you’re tackling how to fix a leaky faucet without a plumber, the first crucial step is turning off the water supply to avoid leaks, mess, and potential damage.
Conclusion
Fixing a leaky faucet can be easy and cost-effective when you know how to fix a leaky faucet without a plumber. With the right tools and steps, you can do it yourself. Save money and avoid the plumber. Remember, turn off the water supply first. Follow our guide on how to fix a leaky faucet without a plumber for a quick and hassle-free fix.
Enjoy a drip-free faucet in no time. Happy fixing!


1 thought on “How to Fix a Leaky Faucet Without a Plumber: Quick DIY Guide”
Pingback: Plumbing Repair Tips for Low Water Pressure: Boost Your Flow Today - Sweet Home Zone