Ever stare at a box of vinyl planks and wonder how to stagger vinyl plank flooring without making a mess of it?
I’ve been there, kneeling on the subfloor, second-guessing every cut, and hoping I wasn’t setting myself up for gaps or wobbly seams. Staggering your planks the right way doesn’t just make the floor look great, it makes it stronger and lasts longer.
In this guide, I’ll walk you through the design, spacing, and real world tricks I use to properly stagger vinyl plank flooring, even luxury ones with those tricky faux grout lines.
Let’s make sure your layout looks pro, even if it’s your first try.
What You Need Before You Start
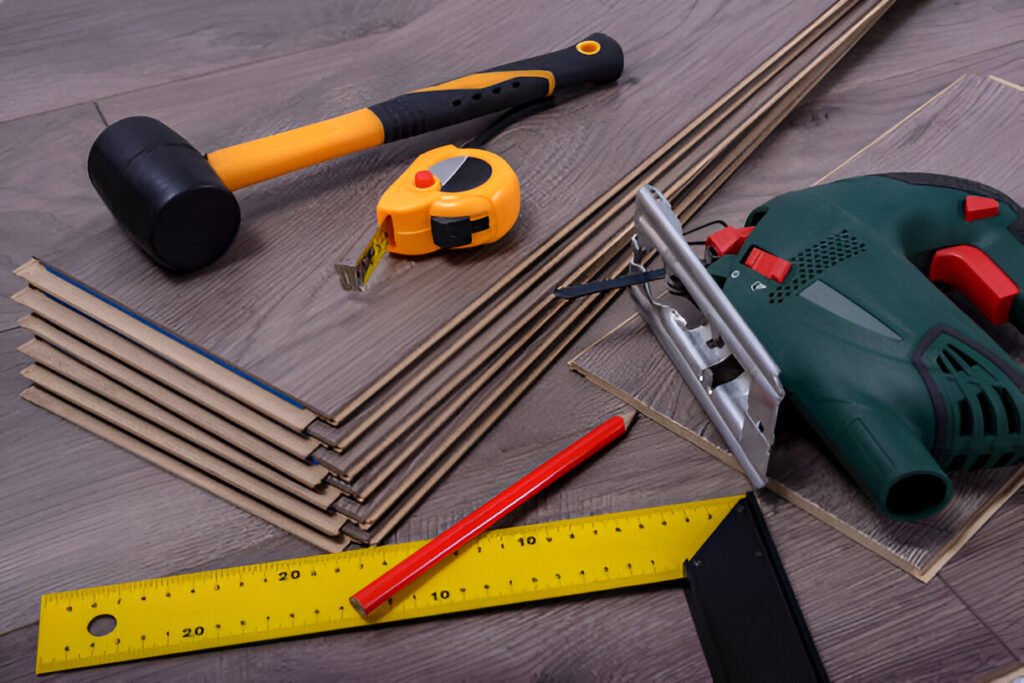
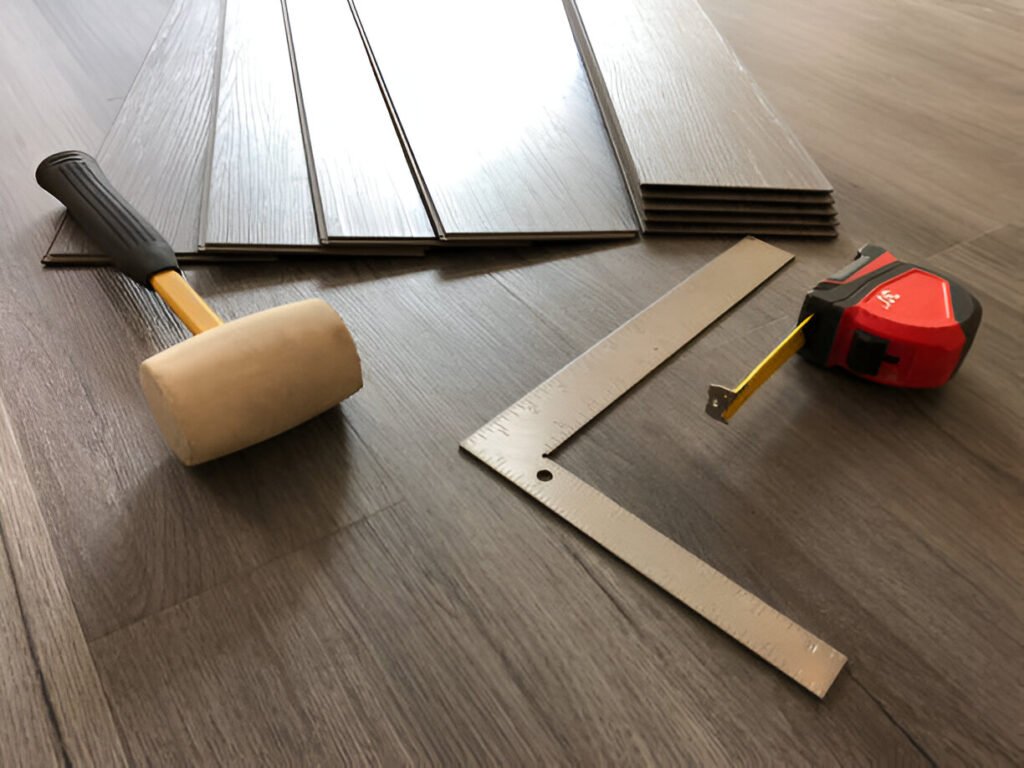
Before learning how to stagger vinyl plank flooring, grab the tools you need.
Don’t worry, it’s a short list. You’ll need a tape measure, a pencil, a utility knife, and some plastic spacers. That’s it to start.
Want things to go faster?
Use a tapping block and a soft mallet. These tools help snap the boards together without hurting the edges. They’re extra helpful when working with thick or luxury planks.
Now, don’t skip the instructions from your flooring brand. Each one has small rules about how to stagger vinyl plank flooring. Some will even show you how to stagger vinyl plank flooring the right way. A little reading now saves a big headache later.
One last thing. Keep a box for scrap cuts. You’ll use them later when you design how to stagger vinyl plank flooring in corners or tight spots.
Planning the Layout: Design Tips That Save Time
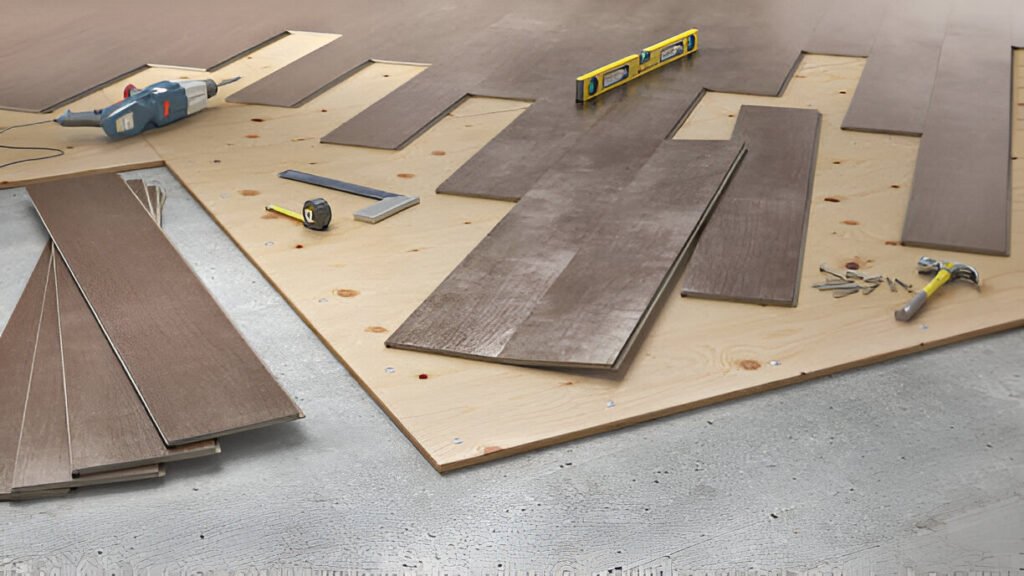
Before you cut anything, take a few minutes to plan your layout. Trust me, this step will save you hours later. When learning how to stagger vinyl plank flooring, it helps to start from the longest or most visible wall. This keeps the lines clean and makes the room feel bigger and more balanced.
Here’s a tip I’ve picked up over time: dry-lay your first few planks. Just place them on the floor without locking them in. This way, you can test how to stagger vinyl plank flooring without committing to a bad cut. You’ll also spot any weird repeats or awkward short pieces early on.
When you design how to stagger vinyl plank flooring, try to mix up the joints. You don’t want the seams to form a visible pattern. Random lengths look more natural and feel more like real wood. This is extra important when figuring out how to stagger luxury vinyl plank flooring with bold grain or texture.
If a seam ends too close to another in the next row, it weakens the floor. That’s why learning how to stagger vinyl plank flooring is so key. Keep those end joints at least 6 inches apart and you’ll avoid a lot of squeaks, shifts, and headaches down the line.
Related: Check out our guide on How to Repair Damaged Laminate Flooring at Home: Step-by-Step Guide for more inspiration.
How Much to Stagger Vinyl Plank Flooring
So, how much should you stagger vinyl plank flooring? Aim for at least 6 inches between the seams of each row. This space keeps the floor strong and helps it stay flat over time.
If joints are too close, the planks may shift or come loose. I made this mistake once and had to redo a whole section. A bigger gap looks better and works better.
You can mix it up. Try 6, 8, or even 10 inches if your planks are long. Just avoid lining up seams in a pattern. It makes the floor look fake.
This tip is key when you learn how to stagger luxury vinyl plank flooring. Those wide planks need a random layout to hide repeats.
To keep it simple: don’t overthink it. Space the joints apart, check your pattern every row, and you’ll do great. That’s how to stagger vinyl plank flooring without stress.
Step-by-Step: How to Stagger Vinyl Plank Flooring Properly
Let’s break it down step by step. You’ve got your tools, your layout is planned, now it’s time to lay the planks.
Step 1: Start with a full plank Place your first plank at the corner of the longest wall. This becomes your guide for the rest. Make sure it’s straight. A small mistake here can mess up the whole floor.
Step 2: Use the cut-off to begin Row 2 Once you finish Row 1, look at the leftover piece. If it’s longer than 6 inches, use it to start Row 2. This is how to stagger vinyl plank flooring the easy way. You waste less and keep your seams spaced.
Step 3: Follow a 1/3, 2/3 pattern Try this: full plank → 2/3 plank → 1/3 plank. Then repeat. It’s a simple trick to avoid lining up joints and to properly stagger vinyl plank flooring. You get a strong, natural look.
Step 4: Keep the seams at least 6 inches apart This part is key. When learning how to stagger vinyl plank flooring, always check the gaps. Seams that are too close can lift or shift later.
Step 5: Step back and review every few rows Pause after every two or three rows. Look at the whole floor. If something looks off, too many seams lined up or odd short planks don’t be afraid to fix it.
Step 6: Don’t chase perfection, chase strength and flow Sometimes, you’ll need to cut a new piece to avoid a repeat pattern. That’s fine! Especially when working with bold textures or when figuring out how to stagger luxury vinyl plank flooring.
By sticking to these simple steps, you’ll learn how to properly stagger vinyl plank flooring like a pro, without overthinking it.

Common Mistakes to Avoid
We all mess up the first time. That’s okay. The trick is knowing what to avoid before you begin.
- Lining up the seams This one’s big. Don’t let the ends of your planks line up row after row. It makes the floor weak. It also looks strange. Keep each joint at least 6 inches apart. That’s a core rule in how to stagger vinyl plank flooring.
- Using tiny end pieces A short piece at the end may seem fine. But if it’s less than 6 inches, it can shift. It won’t stay tight. Toss those cuts in your scrap pile. You’ll need them later for tricky spots.
- Making a pattern by accident If you use the same plank sizes over and over, you may see a repeat. That can ruin the look. This matters more with luxury vinyl. When you design how to stagger vinyl plank flooring, mix up the lengths.
- Forgetting the gap at the wall Always leave a small gap where the floor meets the wall. Vinyl moves a bit with heat and cold. No gap? The planks may push up. Use spacers to keep a 1/4-inch gap. It’s part of how to stagger vinyl plank flooring properly.
- Skipping the layout test Planning saves time. Lay out a few rows without snapping them in. This shows you if your pattern looks good. You’ll catch mistakes early, before you cut anything.
Even pros mess up sometimes. That’s how we learn. Just go slow, double-check your seams, and you’ll get great results.
Extra Tips for Staggering Luxury Vinyl Plank Flooring
Luxury vinyl planks (LVP) look nice. But they need a bit more care. They’re wide, long, and often come with bold patterns. So, let’s talk about how to stagger them the right way.
- Don’t repeat the same cut Many planks have the same print. If you use the same cuts again and again, it looks fake. Mix things up. Cut at different points. That’s how to stagger luxury vinyl plank flooring so it looks real.
- Follow the light Check where sunlight hits the room. Try to lay planks in that direction. This hides seams and makes the floor shine.
- Keep your seams spaced well Use a mix of plank lengths, like one-third, two-thirds, then full. Keep each seam at least 6 inches from the last one. This keeps your floor strong and smooth. It’s a smart way to stagger joints on vinyl plank flooring.
- Watch the grout lines Some LVP has fake grout. Make sure those lines match up. If not, the floor will look off. When you learn how to stagger vinyl plank flooring properly , don’t skip this part.
- Don’t group deep textures Some planks have big grooves. If you put two of those next to each other, it stands out. Spread them out. This gives the floor a better flow and balance.
These tips work well if you want a pro-level floor. Plan well, cut smart, and trust your eye. That’s how to stagger vinyl plank flooring, and make it look amazing.
Final Check: Is Your Stagger Solid?
Alright, you’re almost there. But before you pack up your tools and call it done, let’s take one last look at your layout. This step can catch small issues that might become big ones later.
Step back and scan the room. Are the seams staggered well? If they line up too often, the floor may lift or shift over time. You want the joints to be spaced out. At least 6 inches apart is the rule. That’s how to stagger vinyl plank flooring properly and avoid future problems.
Look at the flow. Do the planks feel random and natural? Or do you see a pattern repeating across the room? If it feels off, you can still fix it. Grab a fresh board, make a new cut, and blend it in. That’s part of learning how to stagger vinyl plank flooring, the ability to adjust on the fly.
Check the edges. Did you leave an expansion gap along the walls? If not, your floor might buckle when the weather changes. Use spacers if you need to slide the planks back. Even luxury vinyl needs breathing room.
And last, trust your eye. If something looks odd, it probably is. You’ve put in the work. You’ve learned how to stagger vinyl plank flooring the right way. So now, give it a good look and make sure it feels solid and looks sharp.
Great job! The design you chose, the way you staggered, and the care you took will show for years to come.
Wrap-Up: You’ve Got This!
Let’s be real, laying vinyl planks can feel scary at first. But now, you know how to stagger vinyl plank flooring like someone who’s done this before. You’ve learned how much to stagger vinyl plank flooring, how to design the layout, and how to avoid common mistakes. That’s huge.
Remember, it’s okay if your cuts weren’t perfect. What matters is that your floor is strong, smooth, and looks like it was done by a pro. Even if you had a few wobbly moments (we all do!), your effort shows.
You’ve also seen how to stagger joints on vinyl plank flooring to keep things locked in place. If you tackled luxury vinyl too, you now understand how to stagger luxury vinyl plank flooring for that high-end finish. Faux grout lines, bold prints, nailed it.
So take a step back. Enjoy that clean, staggered pattern. You earned it.
And hey, if this guide helped you, I’d love to see your work. Drop a comment, ask a question, or share a photo. Someone else might learn from your project the same way you just learned from mine.
You’ve got this. And your floor looks great.
FAQ Section: Staggering Vinyl Plank Flooring Made Simple
Q1: How much should I stagger vinyl plank flooring?
Stagger each row by at least 6 inches. This keeps the floor strong and helps it look more natural.
Q2: Can I use random lengths to stagger vinyl flooring?
Yes. Random lengths help avoid patterns and create a natural design when you stagger vinyl plank flooring.
Q3: Is 3 inches enough to stagger vinyl plank flooring joints?
No. Always keep at least 6 inches between joints to avoid shifting or weak spots.
Q4: Why do my vinyl floor seams keep separating?
This happens if you don’t stagger joints properly or skip the expansion gap near the walls.
Q5: How do I stagger luxury vinyl plank flooring the right way?
Use a mix of plank lengths and avoid repeats. This keeps the floor strong and the design looking real.